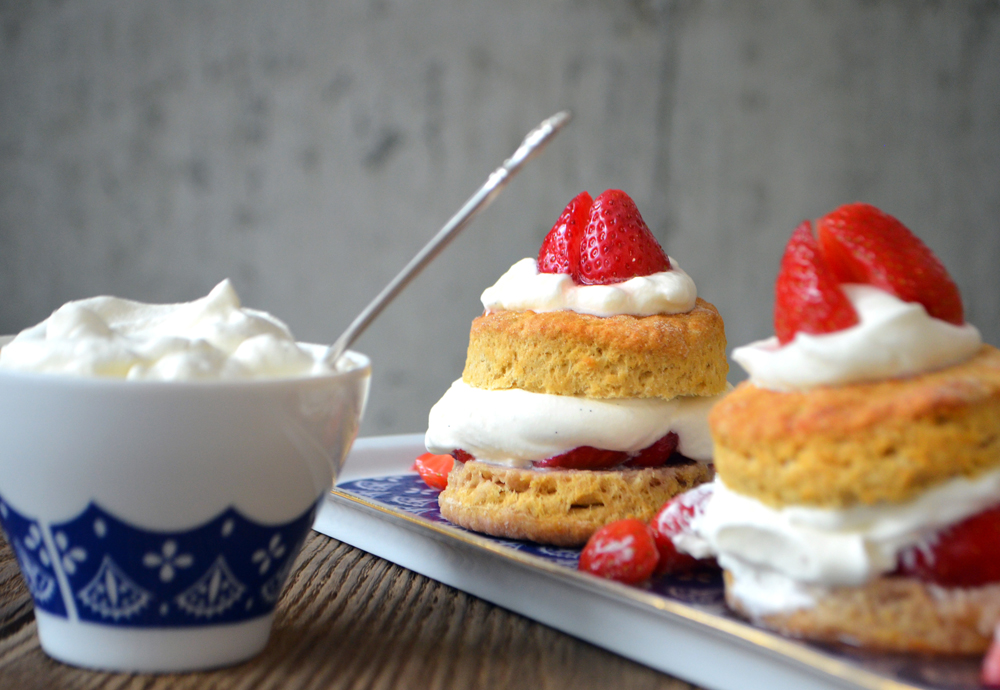
Gluten-Free Strawberry Shortcake
/
A popular American dessert that makes its way to most barbecues, picnics and soirées in the month of June is Strawberry Shortcake: a rich, buttery, crunchy biscuit with lightly sweetened whipped cream and slightly macerated berries. Edible East End challenged my gluten intelligence and asked for a gluten-free summertime dessert for my, What's in Season column in their low summer 2014 issue. At my home, Sheridan Green, I recently hosted my first dinner party for friends who are gluten intolerant—the challenge was perfect timing. We are well acquainted with food allergies to peanuts, and even strawberries, but nowadays, gluten has risen to the top as the biggest culprit. So, why not give gluten-free cooking a whirl? At some point we all have encountered this at a dinner party, “Is this gluten-free?” or, “How can I make this gluten-free?” At Edible East End you can read about my journey to create a high-rise biscuit.
On the East End of Long Island, strawberries kick-off the summer fruit season in June and by the end of the month, during its peak, if you happen to be standing in a strawberry patch—picking your own of course—at Patty’s Berries and Bunches in Mattituck or Hank’s Farm Stand in Southampton, a fruity aroma carried by a summer wind, will captivate you in a Wizard of Oz poppy field trance. And, once you come out of your hypnotic state with bushels in hand you can consider making: smoothies, pies, preserves, salads, cakes, ice creams, juices, Greek yogurt panna cotta, and maybe even a gluten-free strawberry shortcake.
Gluten-Free Strawberry Shortcake
Macerated Strawberries

ingredients
- 1 pound strawberries trimmed and cut in half; about 4 cups
- ¼ cup honey
- ⅓ cup water
- Pinch of sea salt
Combine the honey, water and salt in a small saucepan. Simmer over medium until the mixture is slightly thickened, about 5 minutes. Once done cool and toss with the strawberries. Set aside for 1 hour to allow strawberries to release their juices.
Whipped Cream

ingredients
- 2 cups whipping cream
- 1 vanilla bean split and seeded
- ¼ cup powdered sugar
directions
- Place a large bowl in freezer to prep for the cream. In a medium bowl place the cream; cut vanilla bean in half lengthwise, scrape seeds into cream along with the bean; gently whisk. Cover cream mixture and refrigerate for 1 hour.
- Strain cream mixture through a fine mesh sieve into the chilled bowl. Add the powdered sugar and with a balloon whisk begin to beat the cream into soft peaks. (You can use a KitchenAid with a whisk attachment or a handheld beater.)
Set aside in refrigerator.
Gluten-Free Biscuits

ingredients
- 1¼ cups brown rice flour
- ¼ cup tapioca starch
- 3 teaspoons xanthan gum
- 2 teaspoons baking powder
- 1 teaspoon baking soda
- ½ teaspoon salt
- 1 teaspoon agave syrup
- 1 stick cold butter, cut into ½-inch chunks
- 2 large eggs
- ⅓ cup whole milk Greek yogurt
directions
- Preheat oven to 425°. Line a baking sheet with parchment paper, and sprinkle with two tablespoons of brown rice flour. Set aside.
- In a large bowl, combine the dry ingredients and mix together with a whisk.
- Add the butter and use your fingertips to combine into the dry ingredients, try to work quickly to keep the butter cold.
- In another bowl, add the eggs, yogurt and agave and whisk together; add mixture to the dry ingredients and with a wooden spoon stir the dough together until a ball forms. Refrigerate for 20 minutes.
- Turn dough out onto a clean surface and, working quickly, pat the dough into a 10- by 8-inch rectangle, fold into a 5- by 8-inch rectangle, and again into a 5- by 4-inch rectangle. (Repeat this one more time.)
- Then press dough into a rectangle, ½-inch thick; 10 by 8 inches. Using the top of a glass or a 31/4-inch circle cutter, cut out 2 biscuits; you will not be able to get 6 biscuits in a 10- by 8-inch pass so you will need to repeat this step again, however your rectangle will be smaller, keep with the ½-inch thickness for good measure.
- Arrange the biscuits with ample room in between each one; they need room to grow while baking.
- Bake in preheated oven for 12 to 14 minutes, or until golden brown. Allow biscuits to cool before assembling.
Assembly

Split each biscuit and place the bottom half on plate. Top with the berries and its juices and then top with the whipped cream. Then place the top of the biscuit on the shortcake.