Peconic Bay Scallops with Figs

My father is an excitable person, especially when it comes to fishing, shellfishing and his fig tree. During the last week of October until Election Day, he prepares to close down the East Quogue house and gets ready to winter in the Florida Keys. Not a bad gig for an avid fisherman. Before he left for paradise, he stated two things, “Laura, the Baymen are harvesting basketfuls of Peconic Bay scallops and the fig tree is exploding with fruit. I sensed my father’s envy of the sweet and tender mollusks and figs he would be missing.

I think the polar vortex (cold temperatures) from last winter had something to do with the banner bay scallop harvest we are having on the East End, and strangely enough, an impressive amount of juicy figs for the picking on my father’s fig tree. 75% of the tree was damaged and he was forced to cut it back; we thought it would not survive. As the weather got warmer, the tree grew exponentially, skipped the first harvest in early spring, and the second harvest was delayed (the second harvest happens later summer) and produced ripe fruit in October; it truly is the almighty fig tree.

I picked a little over 3-dozen figs and scored (they were going fast) a pound of Peconic Bay scallops at Cor-J’s Seafood. I was inspired to create something yummy.

The best way to eat a fig is straight off the tree. The same sentiment rings true about a bay scallop, eaten raw is divine. Thankfully, I restrained myself from indulging on these delectable morsels and made a delicious dish that involves three simple recipes for one composed plate.

RECIPE: Peconic Bay Scallops with Figs

Balsamic Fig Sauce

  • 1 pound of fresh figs, chopped
  • 1/4 cup red wine
  • ¼ cup water
  • 2 tablespoon of good balsamic vinegar
  • 1/8 teaspoon freshly ground black pepper
  • 1/2 teaspoon honey
  • 1 sprig fresh thyme
  • Pinch of salt


Directions

  1. Combine all ingredients in a small saucepan. Bring to a boil over high heat. Reduce to a simmer, until fruit has broken down, 30 minutes
  2. Let cool slightly; remove thyme sprig. Press mixture through a medium size sieve with a rubber spatula.
  3. Place in a glass jar and refrigerate for later use or set-aside to use immediately.

    Note: reserve the fig pulp to use as a spread on toast or to put in yogurt.

Baked Figs

  • 8 figs
  • 1 tablespoon of good balsamic vinegar
  • 2 tablespoons of goat cheese, puréed
  • Pinch of salt
  • 1/8 teaspoon freshly ground black pepper
  • 1 tablespoon of olive oil

Directions

  1. Preheat oven to 400°
  2. With a knife, cross hatch the top of the figs; place in a small shallow oven safe dish.
  3. Puree the goat cheese with pepper and salt.
  4. Dollop a ¼ teaspoon of goat cheese purée in each fig. (where the cross hatch is)
  5. Drizzle olive oil and balsamic vinegar.
  6. On the top rack, bake for 15 minutes or until the fig is warm to the touch, slightly soft . The goat cheese should be golden brown on top.

    Set-aside for assembly

figsaucebakedfig_lluciano.jpg

Sautéed Bay Scallops

  • 1 pound of bay scallops
  • Salt and pepper to taste
  • 2 tablespoons of butter

Directions

  1. Salt and pepper the scallops.
  2. In a large non-stick skillet, place 1 tablespoon of butter and heat over medium-low heat until the butter is melted. Place half the scallops in a single layer into the skillet. Sauté the scallops about 2 minutes per side until the scallops are nicely browned. Repeat with the rest of the scallops.

    Set-aside for assembly

Garnish

  • 2 tablespoons of walnuts, chopped
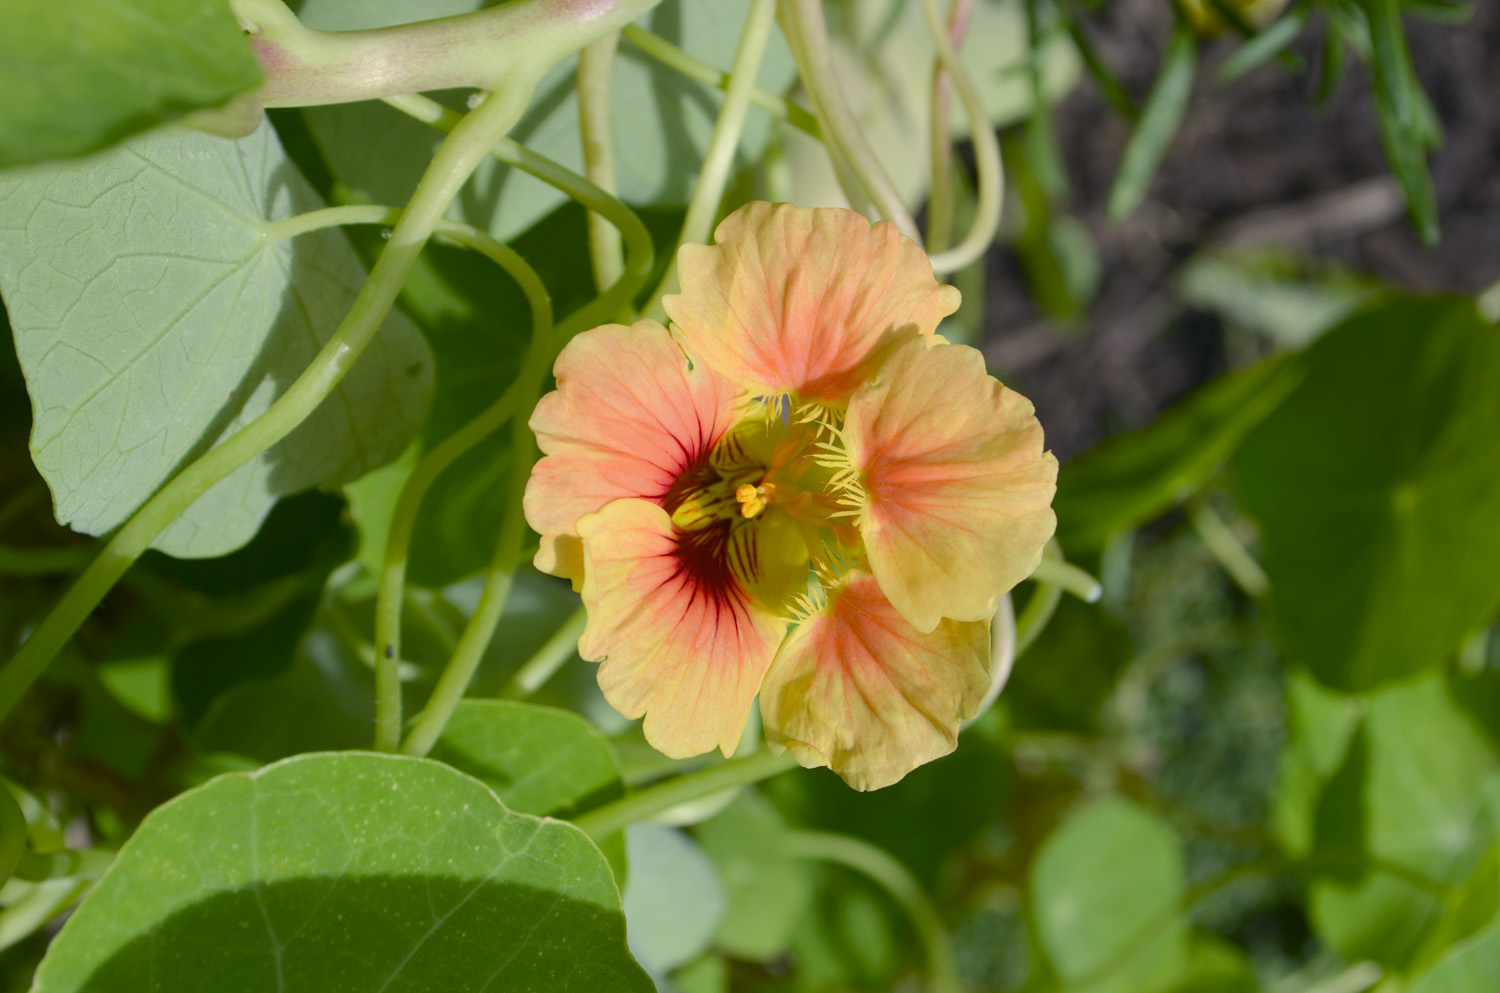
  • 8 large nasturtium leaves and 20 smaller leaves (you can use watercress if you cannot find nasturtium, I had them handy in my herb garden)
  • ¼ pound of shiitake mushrooms, thinly sliced
  • olive oil
  • salt and pepper

Directions

  1. In a small saucepan toast the walnuts; set-aside
  2. In a medium saucepan sauté the shiitake mushrooms in olive oil, until brown. Season with salt and pepper; set-aside

Assembly (Serves 4)

  1. Place (2) large and (5) small nasturtiums leaves on each plate.

    note: I used a rectangular plate, but use whatever you have handy.
     
  2. Place (2) baked figs on the larger nasturtium leaves. Then dab around the dish the fig balsamic sauce. Disperse ¼ pound of the bay scallops on each plate, along with the walnuts and shiitakes.
  3. Serve at room temperature.

How to Make Chive Butter and Oil

I adore my herb garden. I spend a considerable amount of time nurturing the 3- by 11-foot planter bed that sits just outside the kitchen windows. My morning ritual of picking off bugs and dead leaves, running my hands through the oregano and rosemary to release their fragrant aroma, and yes, talking to the plants does not get old. In fact, I find it relaxing, and so does my dog Trixie.

I harvested plenty of herbs for for tea and cooking at the end of summer. Along the way, I learned a valuable lesson to not uproot a perfectly happy pineapple sage—or any plant for that matter—when it is hotter than hell; I dug up and turned the salvia because it looked crooked. Within minutes it wilted and stayed that way for two weeks, I was devastated. The saying, "leave well enough alone" rings so true. By the third week, it made a come back.

It is the last week in October and my herb garden is bustling with lavender, nasturtium, mint, calendula, parsley, lime basil, Christmas basil, Italian basil, oregano, rosemary, sage, pineapple sage, Vietnamese coriander and the subject of this post, chives. My friend Kim Dyla who lives in Southold, N.Y. with her husband Bill on their edible 1/2 acre landscape, inspired me to make flavored vinegars from basil. Kim grows over 150 varieties of plants on her property and makes everything by scratch. The story I wrote about the Dyla's for Edible East End's Fall 2014 Issue can be read here; you may be inspired too.

Besides the infused vinegar made from Christmas and lime basil, I made chive butter (I tried my hand at making homemade butter that is fairly easy to do) and oil. Chives add a nice grassy allium flavor to any dish. Chive butter is great on steak, clams, potatoes, corn on the cob, and fish. Chive oil is a perfect match for pizza, salads, soup, eggs, and bruschetta. Chives are an underused herb, in my opinion, so turn it into something luxurious and silky to spread and pour on everything.

Recipe: Chive Butter

Ingredients

  • 4 cups of heavy whipping cream
  • 1/2 teaspoon of salt
  • 1/2 cup of chopped fresh chives
chivebutter_lluciano.jpg

Directions

  1. Pour the cream into the bowl of a stand mixer. With the whisk attachment, process for 10 minutes, or until the butter separates. 
  2. Strain off the liquid (buttermilk) into a small bowl.

    note: you can refrigerate the buttermilk for future use.

     
  3. Add the chopped chives to the bowl and use the paddle attachment to mix in.

    note: if you do not want to make butter you can use 4 sticks of unsalted butter. At room temperature mash and add the chives.
     
  4. Spread the butter on plastic wrap and roll the butter into a cylinder inside the plastic wrap. Use a piece of string to tie off the ends.
  5. Keep in refrigerator or freeze for later use.


Recipe: Chive Oil

Ingredients

  • 1 cup of fresh chives
  • 3/4 cup extra-virgin olive oil
  • 1/4 teaspoon salt

Directions

  1. Bring a small pot of water to a boil. Add the chives and blanch for 10 seconds. Drain and transfer to paper towels to remove as much of the water as possible.
  2. Roughly chop the chives and transfer to a food processor or blender. With the machine running, add the oil and salt and process until smooth.
  3. Transfer to a bowl and refrigerate overnight. Strain through a fine mesh strainer, pressing against the solids with the back of a spoon to extract as much oil as possible.
  4. Transfer to a jar or squeeze bottle and refrigerate until needed.
  5. Bring to room temperature before using.


Roasted Butternut Squash Soup

Fall is my favorite time of year. And what comes with the autumn season? The second harvest. Now is the time, that winter squash of all shapes and sizes are piled high for weekend warriors to snatch up at roadside stands, farms and farmers markets. The squash are so precariously piled that children should be wearing helmets when passing by. Kids are naturally drawn to the pumpkin for making spooky  jack-o'-lanterns; thankfully, they are scattered within the fields for the little guys to wrap their arms around.

I adore butternut squash for its deep-orange fleshy sweet and buttery pulp; even more so than the beloved pumpkin for making pie. When mashed, this steals the show as a side and when made into a gnocchi, your friends and family will be oohing and aahing for days.

Equally delicious, is a luscious roasted butternut squash soup with a dab of crème fraîche, a drizzle of pumpkin oil and a sprinkle of the pulp seeds that are toasted. This soup is an easy meal to whip-up during a hectic work week. If you do not have an immersion blender, get one as soon as possible. This will be in your top three go to kitchen gadgets. I promise you.

Recipe: Roasted Butternut Squash Soup

butternutsquashsoup_lluciano_3.jpg

Ingredients

  • 1 medium butternut squash, 2lbs or 7-8 cups
  • 1 medium rutabaga, 1 cup
  • 4 cups of chicken or vegetable stock
  • 1 large onion
  • 1 teaspoon of fresh ginger, grated
  • 3 tablespoons of crème fraîche
  • 2 tablespoons of unsalted butter
  • Pinch of nutmeg
  • 1/4 teaspoon of cinnamon
  • 1 teaspoon of sea salt
  • 1 teaspoon of cracked pepper
  • Drizzle of olive oil

Garnish

  • Drizzle of crème fraîche
  • Drizzle of pumpkin oil
  • Toasted butternut seeds

Directions

  1. Preheat oven to 400°
  2. Peel, deseed and cut the butternut and rutabaga into small chunks. The cut the onion in quarters. Place on a baking sheet and drizzle with olive oil and a pinch of salt.
  3. Bake for 1 hour or until fork tender.

    Note: You can boil the above in the broth and skip the roasting to save time. The roasting imparts a deeper flavor.
     
  4. Place stock in a large soup pot. Begin to simmer 15 minutes before squash mixture is done roasting.
  5. Place the squash, rutabaga, ginger and onion in the simmering stock. Add the crème fraîche, butter and salt.
  6. Take an immersion blender and blend until smooth. Add the cinnamon, nutmeg and cracked pepper.
  7. Simmer for an additional 5 minutes.

    Note: If you do not have an immersion blender place the roasted squash mixture and ginger into a food processor and blitz until completely smooth. Then add to the stock.

    Roasted Seeds
     
  8. Preheat oven to 275°.
  9. After removing the seeds from the squash, rinse with water, and remove any strings and bits of squash. Pat dry, and place on baking sheet lined with parchment or aluminum foil.
  10. Sprinkle with sea salt and bake for 15 minutes, or until seeds start to pop.

    Note: If you have a double oven you can toast the seeds while you roast the squash or while soup is simmering.

    Garnish

    Drizzle with crème fraîche, pumpkin oil and a sprinkle of the toasted butternut seeds.