Heirloom Tomato Summer Tart

At the Union Square Greenmarket in New York City, tomato varieties have been making their debut amongst the strawberries, cherries and sugar snap peas at a few farm stands such as S&SO Farm—heirlooms, Eckerton Hill Farm—sungolds and Phillips Farm—greenhouse beefsteak tomatoes.


Summer is only a week old and I could not keep myself from the first of the farm stand tomatoes. What better way to welcome summer and this juicy delight than with an heirloom tomato summer tart; a savory crust filled with ricotta cheese, topped with tomatoes marinated in extra virgin olive oil and infused with basil. I prefer the heirloom cherry tomatoes for their size and vibrant color. The pâte brisée (shortcrust pastry) complements the sweetness of the tomatoes and the creamy ricotta cheese. The pâte brisée recipe is the same shortcrust pastry that was used for my duck confit tart and if you would like to try your hand at making ricotta cheese, you can find my recipe here.


Heirloom Tomato Summer Tart Recipe


Pâte Brisée (shortcrust)

ingredients

  • 2 1/2 cups of flour
  • 2 sticks of butter
  • 1 teaspoon of salt
  • 1/2 cup of ice water
  • Parmigiano-Reggiano for grating on to tart after pre-baked.

 directions

  1. Place the flour and salt in the bowl of a food processor, and process for a few seconds to combine.
  2. Cut up the cold butter into 1/2 inch cubes and process until the mixture resembles coarse meal, about the size of garbanzo beans. Pulse about about 10 seconds.
  3. Add the ice water slowly through the feed tube, just until the dough holds together. The dough should be visibly crumbly where you can pinch the dough between your fingers and should hold. You are not looking for a ball state here.
  4. Remove the crumbly mixture from the processor and place on a smooth surface. Work the dough only enough to just bring the dough together.  Do not over-knead or your crust will end up tough.
  5. Divide the dough into two equal pieces, flatten each portion into a disk, cover with plastic wrap, and refrigerate for one hour before using. This will chill the butter and allow the gluten in the flour to relax. At this point you can also freeze the dough for later use.  
  6. For each disk of pastry, on a lightly floured surface, roll out the pastry to fit into your preferred tart pan size. To prevent the pastry from sticking to the counter and to ensure uniform thickness, keep lifting up and turning the pastry a quarter turn as you roll. To make sure it is the right size, take your tart pan and place it on the rolled out pastry. The pastry should be about an inch larger than your pan.
  7. Lightly roll pastry around your rolling pin and unroll onto the top of your tart pan. Gently lay in pan and lightly press pastry into bottom and up sides of pan. Roll your rolling pin over top of pan to get rid of excess pastry dough.
  8. To prebake the tart 

  9. With the tines of a fork, prick the bottom of the dough (this will prevent the dough from puffing up as it bakes). Cover and refrigerate for 20 minutes to chill the butter and to rest the gluten.
  10. Preheat oven to 400° and place rack in center of oven. Line the unbaked pastry shell with parchment paper and fill the tart pan with pie weights or beans, making sure the weights are to the top of the pan and evenly distributed over the entire surface. Bake crust for about 20 minutes or until the crust is dry and lightly browned. Remove tarts from the oven; take out the pie weight and then grate Parmigiano-Reggianno on to the bottom of the tart so it is fully covered.
  11. Place tarts back in oven for 5 minutes to melt the Parmigiano-Reggianno, then remove from oven and cool on a wire rack.

Makes two, 9-inch tart shells or six, 4-inch round tartlets. 

Filling for Tart

ingredients

  • 1 quart of cherry tomatoes cut in half
  • 3 tablespoons of extra virgin olive oil
  • 1 1/2 teaspoons of sea salt
  • 1 teaspoon of fresh pepper
  • 1 tablespoon of pignoli nuts
  • 1 scallion, chopped
  • 1 1/2 cups of ricotta cheese; room temperature  
  • 1 teaspoon of lemon juice
  • 1 tablespoon of fresh basil, roughly chopped

directions

  1. Over medium heat, toast the pignoli nuts until fragrant and lightly brown. Remove from heat to cool and set-aside for the tomato mixture.
  2. In a bowl place the ricotta, 1/2 teaspoon of sea salt, pepper and scallions. Mix ingredients together and let sit.
  3. In a bowl place the tomatoes, extra virgin olive oil, 1 teaspoon of sea salt, basil and lemon juice.  Fold together and marinate for 30 minutes. Gently fold in pignoli nuts before you are ready to assemble.

note: you can prepare the ricotta mixture a day before, however it should be at room temperature before assembling.

Assembly

Fill each tart with the ricotta mixture up to the edge of the crust. Then carefully place the tomato mixture on top. Immediately serve at room temperature.

My Self-Guided North Fork Hen House Tour

Since Chickapalooza, I had been counting down the days to attend the North Fork Hen House Tour that was held on Saturday, June 15th, sponsored by Cornell University’s Long Island Horticultural & Research Extension Center. As my husband Chris hammered away on our upcoming home Sheridan Green, my father and I went on the self-guided tour that spanned from Yaphank, New York to Southold, New York. 

The fifteen locations on the tour ranged from: farms, gardens, bed and breakfasts, stores and residential homes—each one had something to crow about when it came to chicken coops. At Sheridan Green we are planning on having backyard chickens for eggs, so the focus of our tour was residential homes with hen houses.

1st Stop: Vultaggio Hen House: Wading River, New York

Sandra and Carl renovated part of their backyard shed into a hen house three years ago. The chicken coop has an outside wire enclosed run area for the chickens to roam freely. In the evening, a few hours before the sun sets the chickens free-range the property which has helped to keep the ticks at bay. The tick situation out east on Long Island is the worst it has ever been; not only do chickens and guinea hens provide fresh eggs everyday, but also can contribute to your tick prevention program.

The couple has been transforming their property into a backyard sanctuary with beautiful flowers for pollinators and a vegetable garden that will provide sustenance for most of the year.

2nd Stop: Gardner Hen House: Wading River, New York

Sandy Gardner and her daughter Amanda are both passionate about chickens and goats. The original horse barn was converted into a chicken and goat house; chickens on one side and goats on the other. The chickens provide eggs and recently Sandy has begun milking the goats to try her hand at making a variety of cheese.

There is an ample amount of space for the 20 hens, with wooden baskets filled with hay for chicken lounging and large nesting boxes for egg laying. The outside run area is a shared space for the goats and chickens to roam and adjacent to the barn is a large garden. This property is a great example on how to produce your own food and make your property work for you. Something that we aspire to at Sheridan Green.

3rd Stop: Bridgen Hen House: Southold, New York

bridgenhenhouse.jpg

Dr. Mark Bridgen, Professor and Director of the Long Island Horticultural Research and Extension Center at Cornell University led the seminar for Chickapalooza at the Garden of Eve Organic Farm and Market this past April. He has been raising his own chickens for more than 25 years and is an authority on the care and management of chickens at the home. The Bridgen Hen house was built last year and includes a green roof as well as a small solar panel for a light bulb. Three breeds of chickens reside here: Ameraucanas, Barred Rocks and Brahmas which lay blue and green eggs.

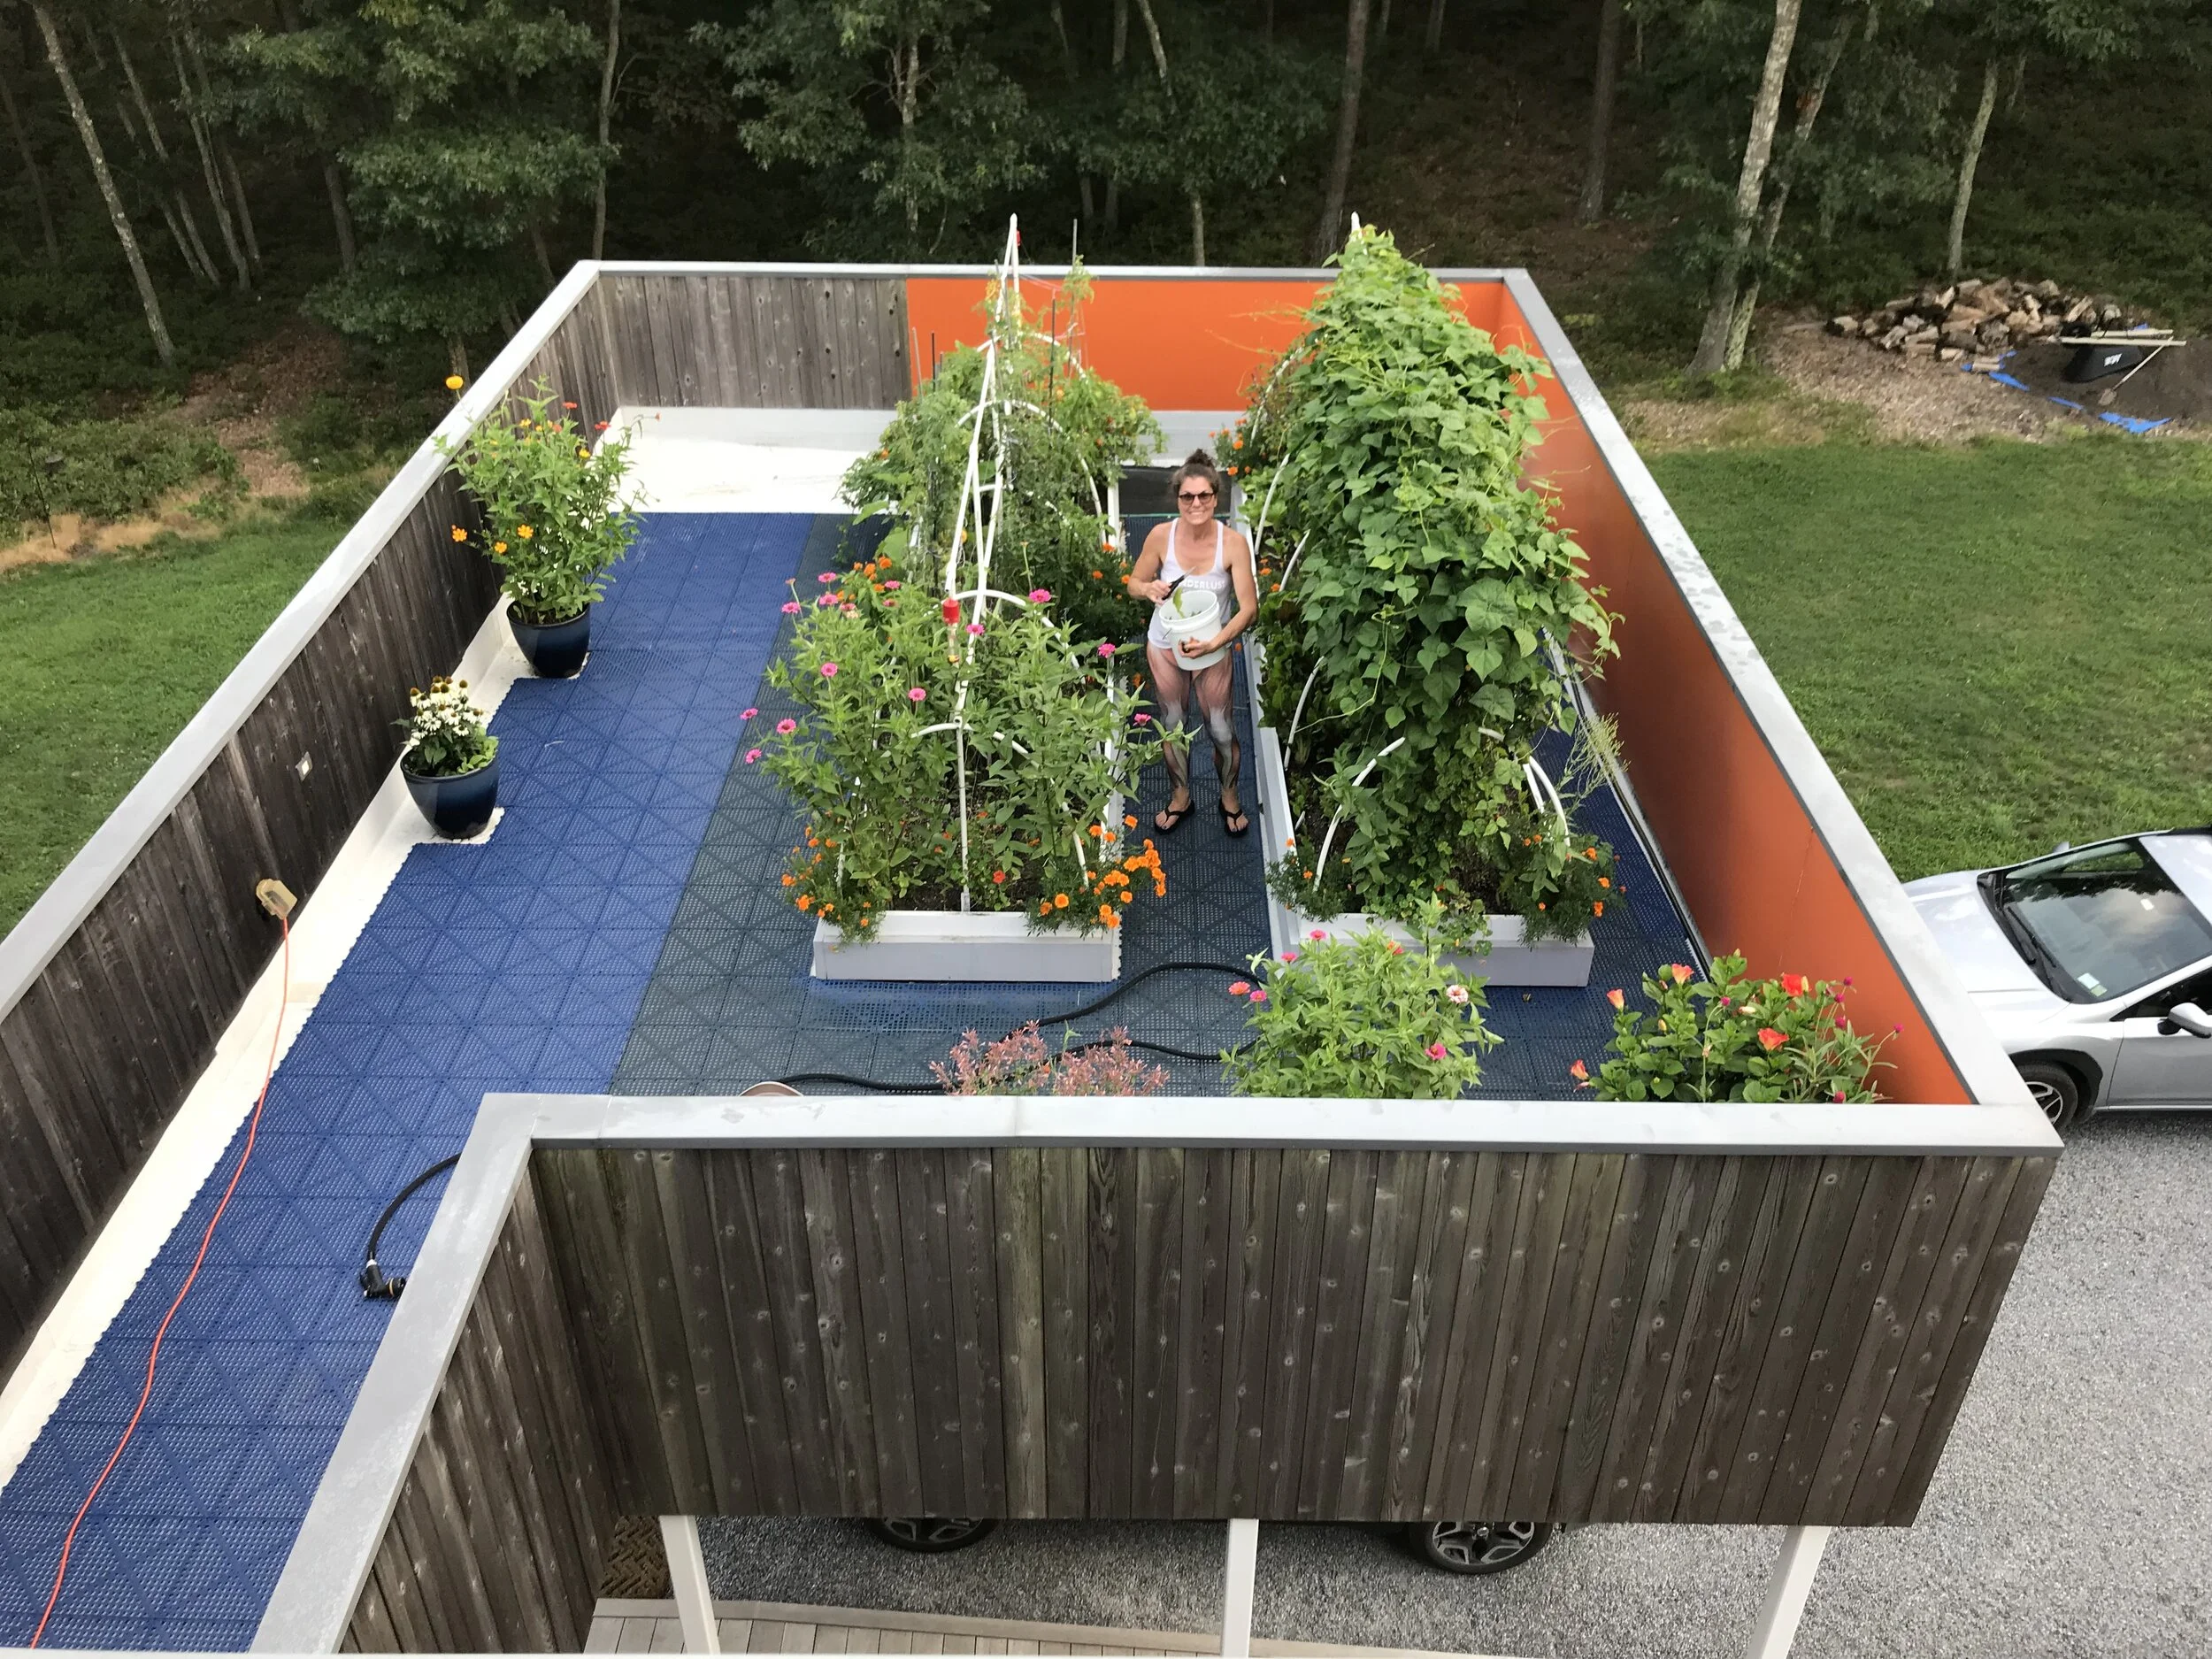
The coop has an easy-access nesting box on the outside and a small storage shed on one side to store food and supplies. Mark provided a sheet of deer-resistant plants that I was thrilled to obtain considering Sheridan Green is located in Hampton Bays/Red Creek area where the deer are most prolific; hence why we created a rooftop garden above the carport.

4th Stop: Connie Cross Hen House: Cutchogue, New York

The property of Connie Cross was magical, a true fairy tale of multiple chickens, fowl and goats living within a forest amongst the most beautiful gardens you have ever seen. This was a jaw dropping experience; a village of roosters and hens of every kind, and goats lounging about as if they were being fed grapes by hand.

You have to see it to believe it. Unfortunately, Connie was not there to give us a tour so we meandered around the property in complete awe. Connie Cross is a renowned gardener and owns Environmentals Nursery that is a wholesale supplier of fine plant materials to garden centers, growers and landscapers all over the east coast and beyond.

There were two bed and breakfasts on our list to visit: Andrew’s Legacy and The Farmhouse; both places were in Cutchogue. We did not have enough time to visit with them, however I am hoping to fulfill my hen house tour bucket list in the near future.

Maybe next year there will be a South Fork Tour de Coop and you will see Sheridan Green Hen House as one of your stops along the way.

Greek Yogurt Panna Cotta with Strawberry Rhubarb Compote

By early June on the North Fork of Long Island the strawberry begins to emerge. This first fruit of the spring season reaches it’s harvesting peak towards the end of the month, bursting with strawberry flavor.

To celebrate this strawberry harvest the Mattituck Lions Club is hosting the 59th Annual Strawberry Festival from June 13th - June 16th featuring: live music, over a 100 arts and craft vendors, rides, the crowning of the Strawberry Queen, foods from around the world and of course strawberry delights made a zillion ways. Proceeds from the event help the Mattituck Lions advance their year-round community service efforts.

If you haven't had enough of this sweet celebration, a variety of farms on the North Fork offer Pick-Your-Own strawberries. This can be an overindulgent endeavor; hauling home more than you can ever plop in your mouth—but who cares—especially when you wait all year long for this sweet and luscious fruit to arrive in June. There is a plethora of savory and sweet recipes that you can make with this fruit, so if you find yourself with more strawberries than you can chew, do not sweat it.

Making a Strawberry Rhubarb Compote is an easy way to render down all that luscious goodness for a delicious Greek Yogurt Panna Cotta.

Strawberry Rhubarb Compote

ingredients

  • 3 stalks of rhubarb; cut into 1 inch pieces, 1½ pounds
  • Zest of 1 orange and ½ lemon
  • Juice of 1 orange
  • Juice of ½ lemon
  • ½ cup of honey
  • 2 quarts of strawberries; cut into quarters, 2 pounds
  • pinch of nutmeg
  • pinch of sea salt


directions

  1. In a medium pot combine rhubarb, honey, zest of lemon/orange and orange juice. Bring to a boil, reduce heat and cook for about 5 minutes, until the rhubarb is tender.
  2. Add the strawberries, nutmeg and sea salt; cook for an additional 5 minutes then remove from heat and chill.

note: can be done a day in advance

Greek Yogurt Panna Cotta

ingredients

  • 2 cups of whole milk greek yogurt
  • 1 cup of whole milk
  • 1/3 cup of sugar
  • 1 vanilla bean and seeds
  • 1 gelatin pack
  • 2 ½ tablespoons of cold water


directions

  1. Place the gelatin and cold water in a cup; let stand until softened, for 5 minutes.
  2. In a small saucepan, bring the milk, sugar, vanilla bean with seeds to a simmer. Turn off the heat and stir in the gelatin until melted.
  3. Whisk the Greek yogurt in a separate bowl until smooth, then whisk the milk mixture into the yogurt and remove the vanilla bean. Pour the mixture into six 1/2-cup ramekins or Trifle Mini cups. Refrigerate for 3 hours to set.

Assembly


Place 3 tablespoons of the strawberry rhubarb compote on top of panna cotta and top with a mint leaf for garnish.